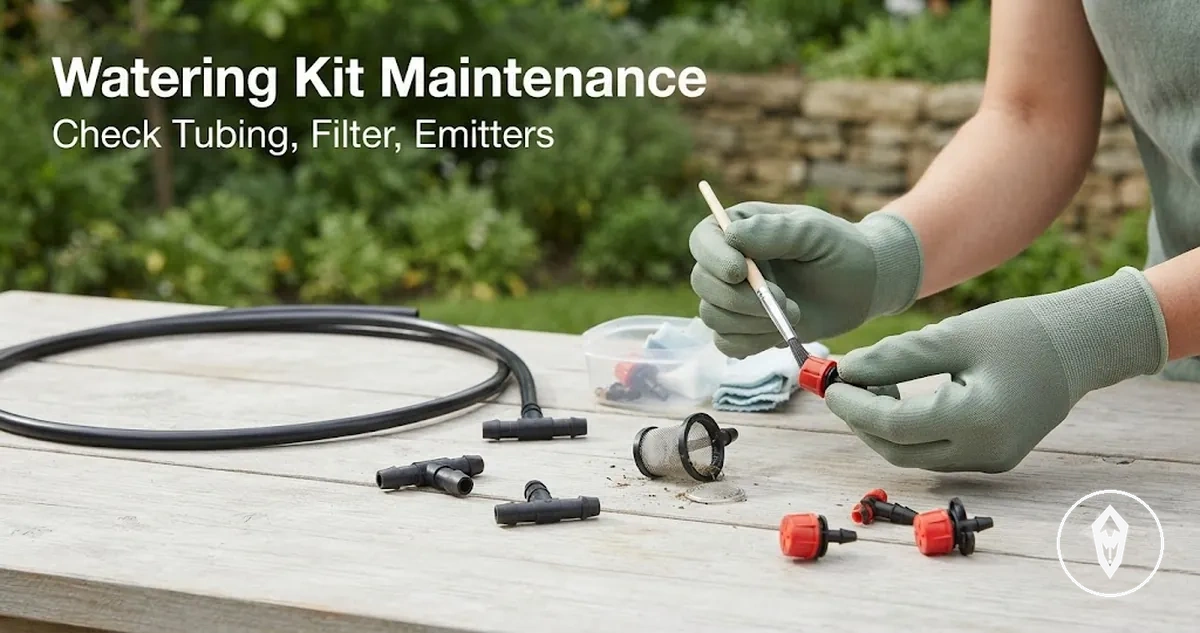
Automatic Watering Kit Maintenance Guide
Automatic watering kit maintenance is the routine prevention of conditions that reduce reliable water delivery, including clogging, leaks, uneven flow, and part wear. It keeps key components such as filters, drip emitters, tubing, connectors, flush valves, and timers in a condition suitable for their intended watering role. Regular upkeep focuses on identifying debris, reduced flow, loose fittings, and visible damage before these issues affect plant watering consistency.
Routine maintenance reduces common failures but does not replace diagnosis for recurring or severe problems.
Regular maintenance protects the parts that control water movement, connection quality, and watering schedules throughout an automatic watering kits setup. Filters help limit debris movement, drip emitters control outlet delivery, tubing carries water between points, connectors maintain joins, and timers manage scheduled operation when included in the kit. Routine maintenance reduces common failures but does not replace diagnosis for recurring or severe problems.
Routine checks connect these conditions with suitable actions, such as cleaning, adjustment, monitoring, or replacement when required.
Clogs, leaks, uneven delivery, and worn parts are common maintenance concerns because water pathways and connections are exposed to conditions such as debris buildup, sediment, loose fittings, or physical wear. A restricted filter or emitter outlet can reduce flow, while a damaged tubing section or connector seal can create visible wet spots or inconsistent watering. Routine checks connect these conditions with suitable actions, such as cleaning, adjustment, monitoring, or replacement when required.
Maintenance needs should be considered according to the kit type, water quality, pressure conditions, season, and exposure environment.
Maintenance needs should be considered according to the kit type, water quality, pressure conditions, season, and exposure environment. A drip irrigation kit used during an active watering period may need different checks from a kit placed in storage or restarted after a low-use period. Manufacturer instructions remain the reference point for limits and part-specific care because filter designs, timer functions, and component materials differ between setups.
A drip irrigation kit used during an active watering period may need different checks from a kit placed in storage or restarted after a low-use period.
Inspection timing is the next part of understanding automatic watering kit upkeep because maintenance decisions depend on the condition of the system rather than a single universal schedule. Checking flow patterns, connections, filters, emitters, and timer behaviour helps determine when cleaning, adjustment, or further troubleshooting is appropriate.
Table of Contents
What Regular Automatic Watering Kit Maintenance Should Prevent
Regular automatic watering kit maintenance helps reduce predictable problems such as clogging, leaks, blocked emitters, and inconsistent delivery by keeping key parts in a suitable condition. Maintenance is a risk-reduction practice rather than a guarantee against every failure, because water quality, installation conditions, component condition, and system use influence how problems develop.
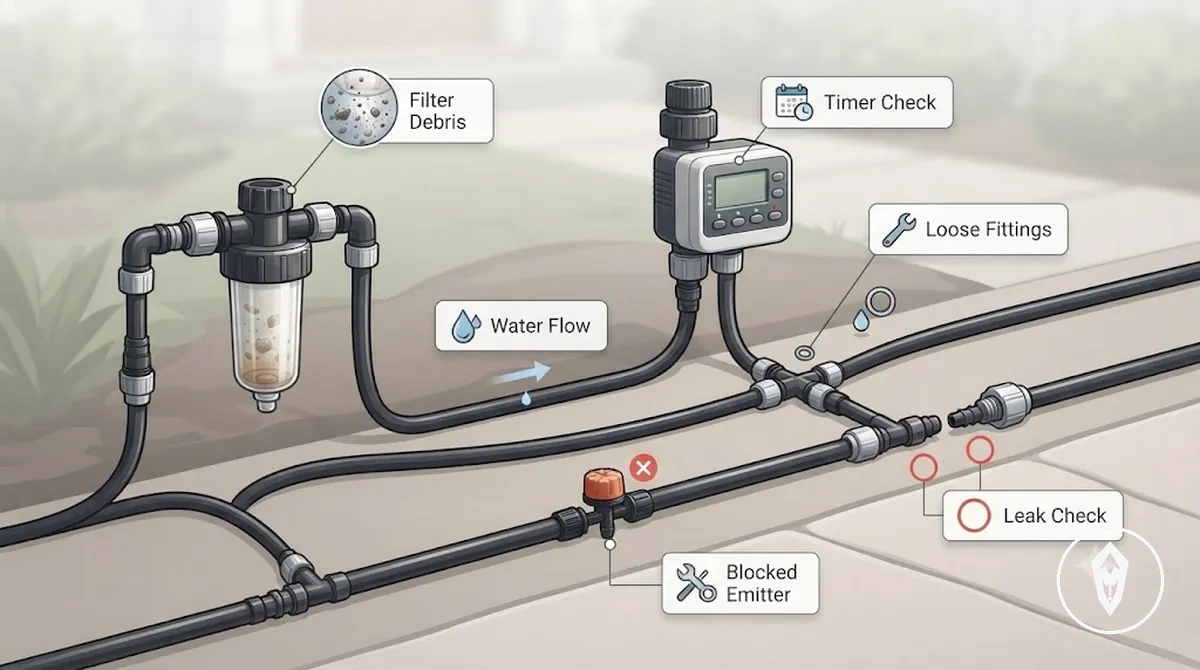
Common maintenance issues often begin when filter debris restricts water movement, connectors lose tightness, or tubing develops conditions that interrupt delivery. Reduced flow from blocked emitters can create dry spots, while loose fittings or damaged connections can create leaks and uneven watering. Checking water flow, connection tightness, and timer reliability helps identify conditions that need attention before they become larger watering problems.
Reduced flow from blocked emitters can create dry spots, while loose fittings or damaged connections can create leaks and uneven watering.
Routine upkeep focuses on predictable wear and blockage conditions, while recurring faults with severe symptoms require diagnostic repair rather than normal maintenance. For safe use conditions, maintenance checks should also consider whether indoor or outdoor placement creates exposure factors that affect the system, including safe indoor and outdoor upkeep requirements.
Routine upkeep focuses on predictable wear and blockage conditions, while recurring faults with severe symptoms require diagnostic repair rather than normal maintenance.
The following checks organize the main risks that regular automatic watering kit maintenance is intended to reduce:
- Clogging: Filter debris, sediment, or buildup can restrict water movement and reduce flow reaching drip emitters.
- Leaks: Loose fittings, connector tightness issues, or tubing damage can create seepage and inconsistent water delivery.
- Uneven watering: Blocked emitters or reduced flow can affect delivery patterns and contribute to dry spots.
- Excess water: Timer settings, valve operation, and flow conditions can influence whether plants receive more water than intended.
- Part wear: Tubing, connectors, filters, emitters, and other components require condition checks because wear can affect reliability over time.
Maintenance Frequency and Seasonal Inspection Timing
Maintenance frequency for an automatic watering kit should be based on use intensity, water quality, exposure conditions, and season rather than a fixed schedule. Routine checks help identify changing conditions, such as reduced flow, leak signs, or debris buildup, while inspection timing helps determine when cleaning or further attention is needed.
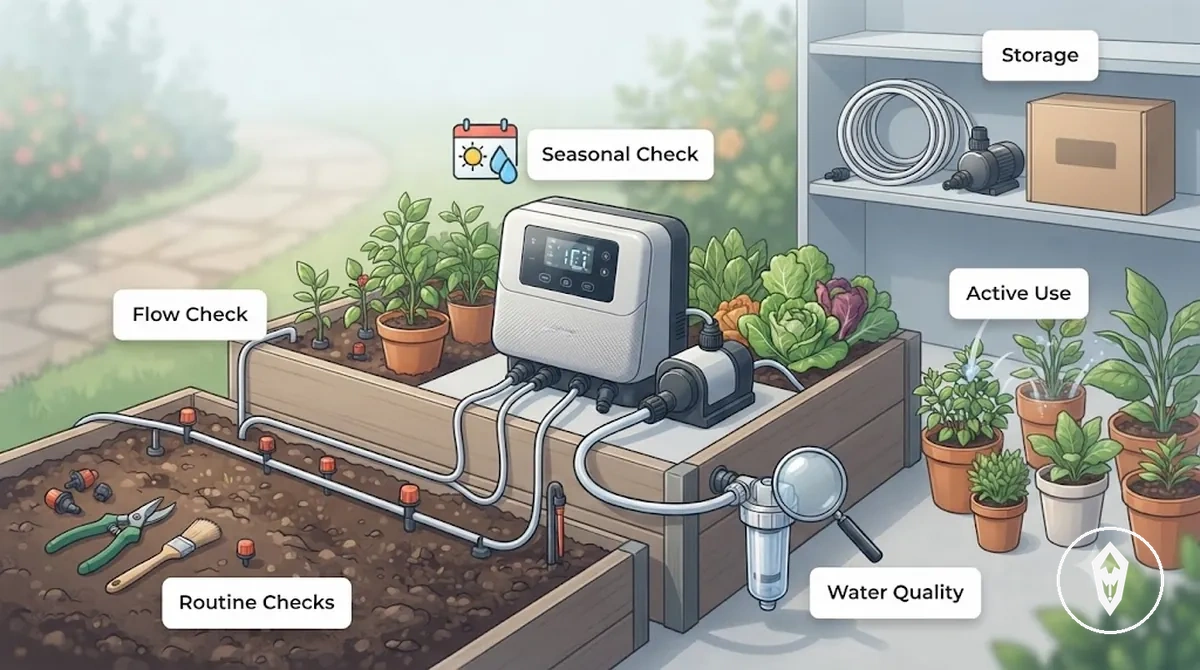
During an active watering period, routine checks help monitor how the kit performs under ongoing use. Heavy use periods with frequent watering cycles can increase attention on filter condition, emitter output, tubing condition, and timer reliability. Recent performance changes, such as inconsistent delivery or reduced flow, provide signals that a condition-triggered check may be needed.
During an active watering period, routine checks help monitor how the kit performs under ongoing use.
Seasonal inspection becomes important when the automatic watering kit moves between different operating conditions. Before a restart after storage, check components for condition changes that could affect water delivery, including tubing condition, connector tightness, and filter debris. Before travel preparation, review timer operation, watering schedule settings, and visible leak signs so the setup matches the intended use period.
Seasonal inspection becomes important when the automatic watering kit moves between different operating conditions.
Low-use periods and storage conditions require a different maintenance approach from heavy use periods because exposure, inactivity, and environmental changes can influence component condition. The checklist below organizes the main factors that influence inspection timing, while manufacturer instructions should override generic timing guidance when kit-specific requirements are provided.
- Use intensity: Heavy use periods require closer routine checks because frequent water delivery increases attention on flow consistency and component condition.
- Water quality: Water sources with higher debris or sediment levels increase the importance of checking filter condition and reduced flow signs.
- Exposure conditions: Outdoor exposure, storage conditions, and environmental changes can influence when tubing, connectors, and other parts need inspection.
- Plant demand: Active watering periods with higher plant demand can make delivery changes more noticeable through dry spots or uneven watering.
- Recent performance changes: Reduced flow, leak signs, or changes in delivery patterns indicate that a condition-triggered check may be appropriate.
Routine Checks During Active Watering Periods
During an active watering period, routine checks help confirm that the automatic watering kit continues to deliver water consistently during regular use. Quick checks of visible components help identify changes in emitter output, water flow, and connection condition before deeper cleaning or adjustment is considered.
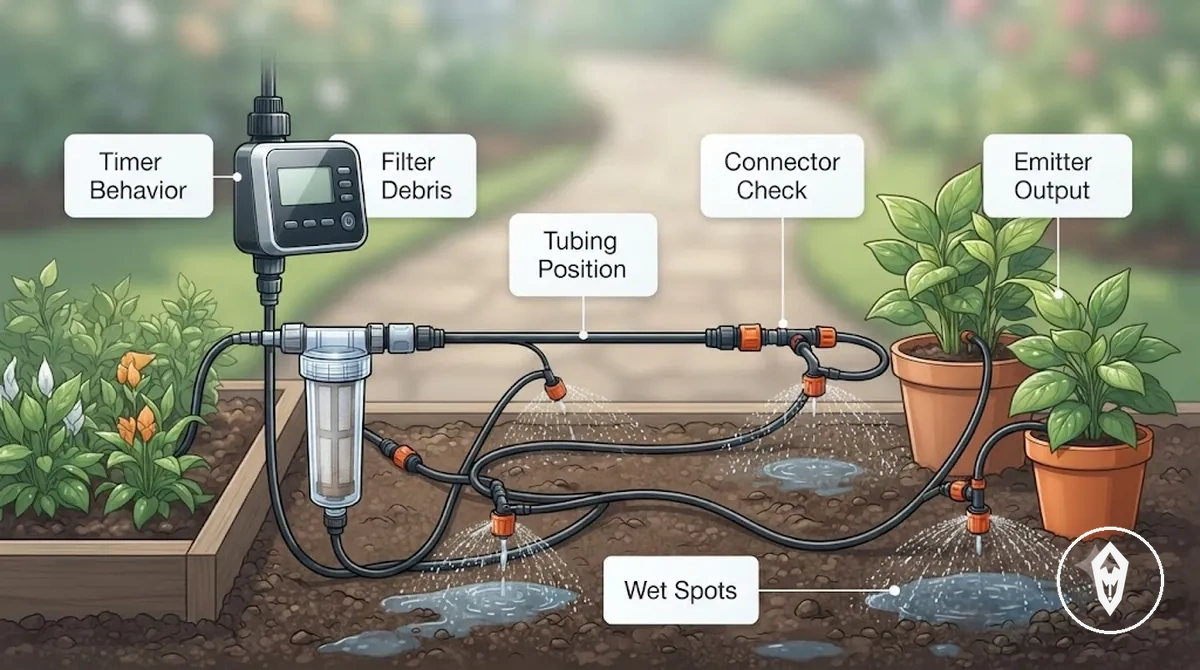
Visible signals help determine whether a component needs cleaning, adjustment, or monitoring. Reduced flow, filter debris, loose fittings, or changes in timer behavior can indicate a condition that needs attention without turning routine checks into a full troubleshooting process. The following checklist focuses on common condition checks during active watering:
- Emitter output: Check drip output for noticeable changes that may indicate reduced flow or a blocked emitter condition.
- Filter debris: Review the filter area for debris buildup that could restrict water movement and affect delivery.
- Tubing position: Check tubing placement for visible kinks, movement, or conditions that could interrupt water flow.
- Connector tightness: Inspect fittings and connections for looseness, seepage, or signs that adjustment may be needed.
- Wet spots: Observe unusual wet areas around the system as possible leak signs that require monitoring.
- Timer behavior: Review timer operation and watering cycle behavior to confirm the intended delivery pattern is being maintained.
Seasonal Checks Before Storage or Heavy Use
Before storage, restart, heavy use, or travel preparation, seasonal checks help identify condition changes that could affect an automatic watering kit during its next use period. A pre-storage check and restart check focus on component condition, water delivery, and visible signs that need attention before regular watering resumes.
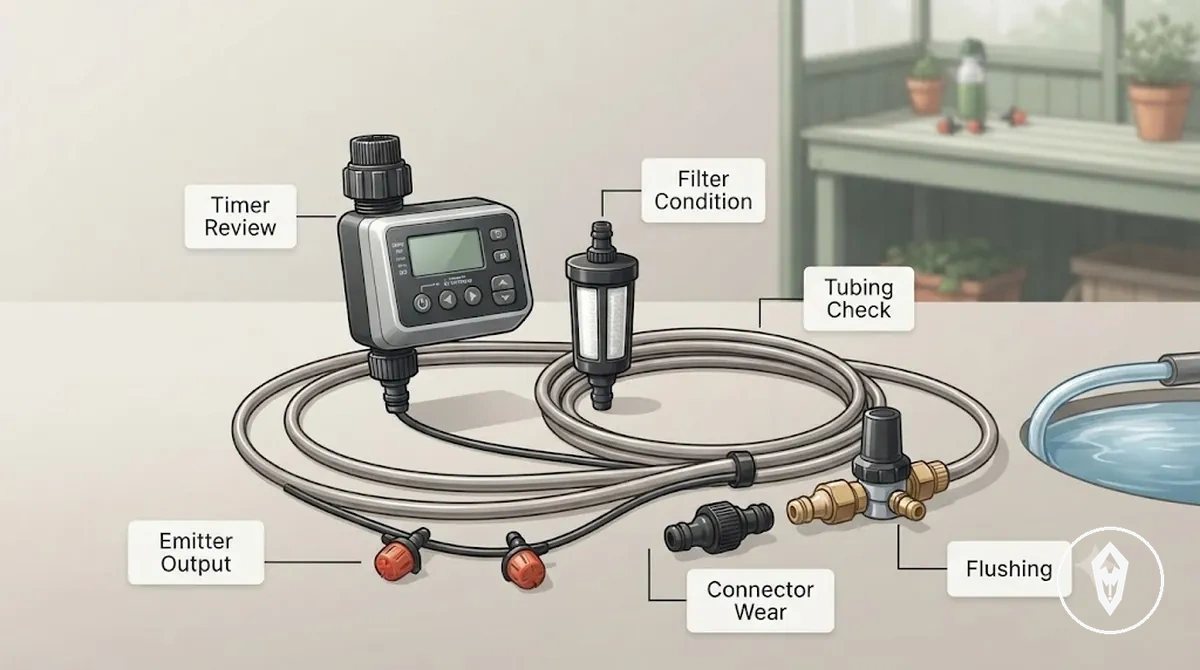
Seasonal condition changes can affect maintenance priorities. Flushing can help address sediment in water pathways, while filter condition, emitter output, tubing brittleness, connector wear, and timer battery or program review provide visible signals for cleaning, adjustment, or replacement decisions. Components with visible damage should not be treated like removable debris because repeated cleaning does not restore worn or damaged parts.
- Flushing: Check water pathways for sediment buildup and use suitable flushing practices when the kit condition indicates restricted flow.
- Filter condition: Review the filter for debris buildup that could affect water movement during restart or heavy use periods.
- Emitter output: Check drip output for reduced flow or uneven delivery after storage or seasonal changes.
- Tubing brittleness: Inspect tubing condition for visible brittleness, cracking, or changes that affect flexibility.
- Connector wear: Review connectors for wear, loose joins, or signs that adjustment or replacement may be needed.
- Timer review: Check timer battery condition and program settings before returning the kit to an active watering period.
Kit Parts That Need Regular Maintenance
Different automatic watering kit parts carry different maintenance risks because each component affects water movement, connection quality, or watering control in a different way. Understanding these maintenance risks helps identify conditions that can contribute to reduced flow, uneven delivery, leaks, or changes in watering operation.
The kit components to maintain differ by their role, condition signals, and likely failure effects.
The main kit parts requiring regular attention include filters, emitters, tubing, connectors, valves, timers, and flush points. The kit components to maintain differ by their role, condition signals, and likely failure effects.
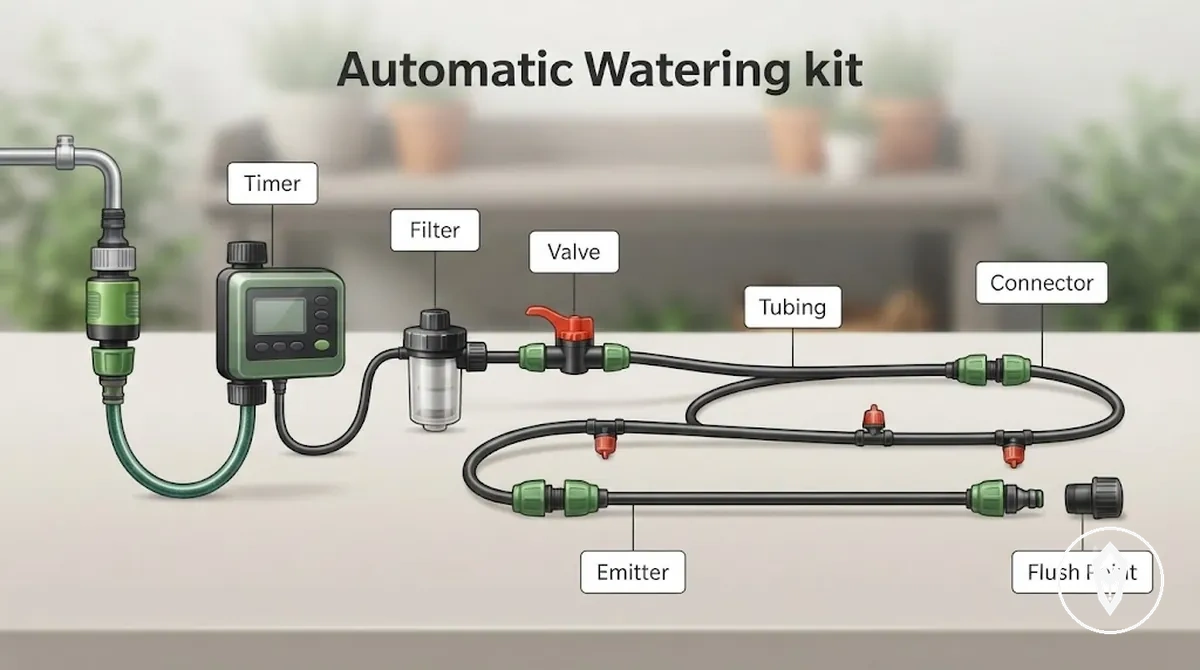
The table below links each part to the maintenance risk, condition to watch, and likely outcome so the relevant checks are clear before cleaning instructions begin.
| Kit Part | Maintenance Risk | Condition to Watch | Likely Outcome |
|---|---|---|---|
| Filter | Debris and sediment buildup | Filter debris or restricted water movement | Reduced flow or increased risk of blocked emitters |
| Emitter | Clogging and uneven outlet delivery | Blocked outlet or changed drip output | Uneven watering or reduced delivery consistency |
| Tubing | Kinks, splits, or material wear | Changed tubing position or visible damage | Leak risk or interrupted water movement |
| Connector | Loose fitting or seal condition | Reduced grip, loose joins, or seepage | Water loss or inconsistent connections |
| Valve | Flow control condition | Changes in valve operation | Changes in water delivery pattern |
| Timer | Program or battery condition | Battery status or schedule settings | Changes in scheduled watering operation |
| Flush point | Sediment release and flow restriction | Debris accumulation or restricted discharge | Reduced water movement through the line |
Cleaning Filters, Emitters, and Flush Points
Cleaning filters, emitters, and flush points helps restore water movement when debris, sediment, mineral buildup, or other restrictions reduce delivery through an automatic watering kit. This maintenance action targets flow restrictions in key components while keeping the cleaning approach suitable for the condition of each part.
Debris in a filter can restrict water movement, while sediment or mineral buildup around emitter openings can contribute to uneven drip output.
Debris in a filter can restrict water movement, while sediment or mineral buildup around emitter openings can contribute to uneven drip output. Algae and buildup can also affect flow conditions in some setups, so cleaning decisions should consider water quality, component condition, and manufacturer instructions.
The grouped steps below cover common cleaning actions for filters, emitters, tubing ends, and flush valves.
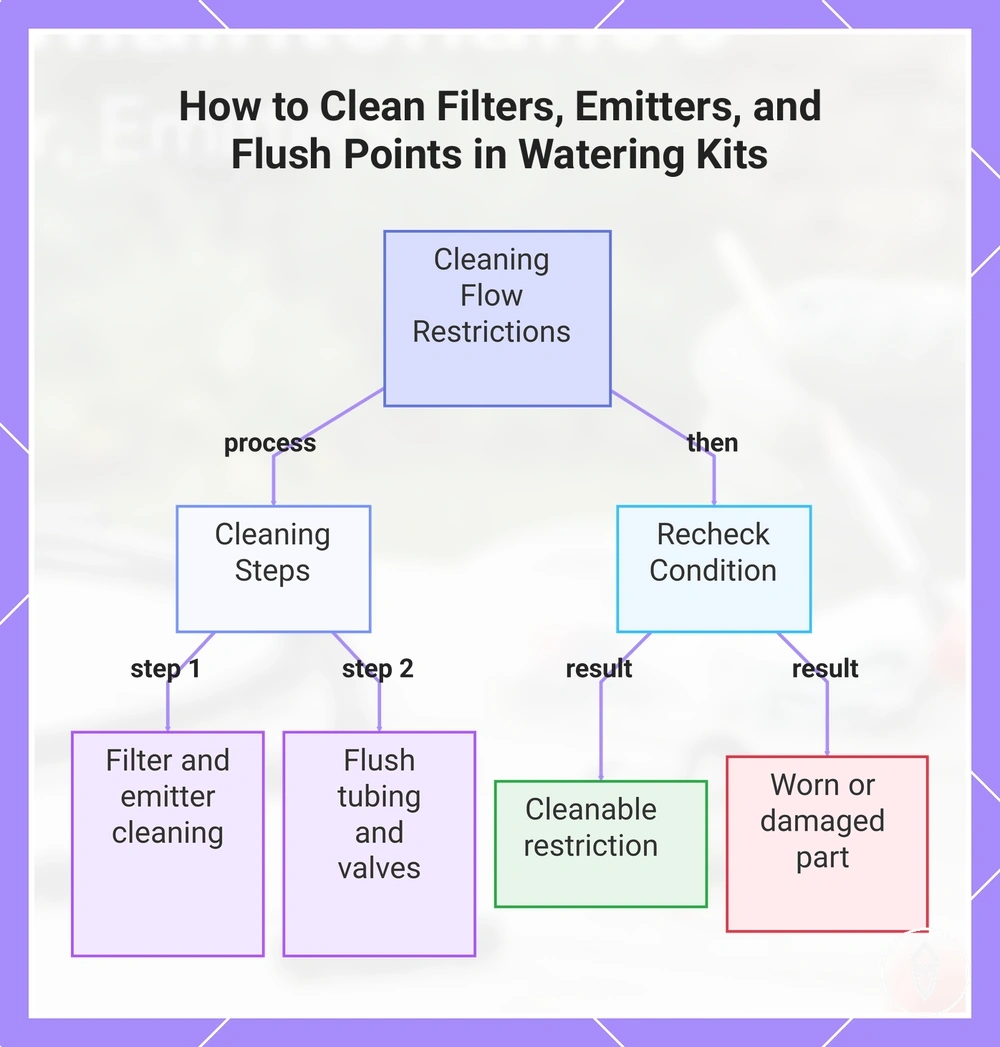
The cleaning order should follow the component condition and manufacturer limits, starting with parts that control water entry and movement before checking outlets and flush points. The grouped steps below cover common cleaning actions for filters, emitters, tubing ends, and flush valves.
- Check the filter: Inspect the removable screen or filter element for debris buildup, then rinse or clear suitable restrictions that affect water flow.
- Clean emitter openings: Review emitter openings for visible blockage or mineral buildup that can affect drip output and watering consistency.
- Flush tubing ends: Check tubing ends and flush points for sediment accumulation, then use the flush valve according to manufacturer instructions to help clear the line.
- Review flush valves: Inspect flush valves for discharge restrictions and confirm that water movement follows the intended path after cleaning.
- Recheck component condition: Confirm whether the restriction was removable or whether the part shows visible wear that requires a different solution.
Cleanable restriction: Debris, sediment, and some mineral buildup can be addressed through suitable cleaning when the component remains in usable condition.
Cleanable restriction: Debris, sediment, and some mineral buildup can be addressed through suitable cleaning when the component remains in usable condition.
Worn or damaged part: Visible damage or material wear should not be treated as removable buildup because repeated cleaning does not restore a worn or damaged component.
This chart shows the cleaning steps for key components and how to decide whether a restriction is cleanable or requires replacement.
This chart shows the cleaning steps for key components and how to decide whether a restriction is cleanable or requires replacement.
Filter Cleaning
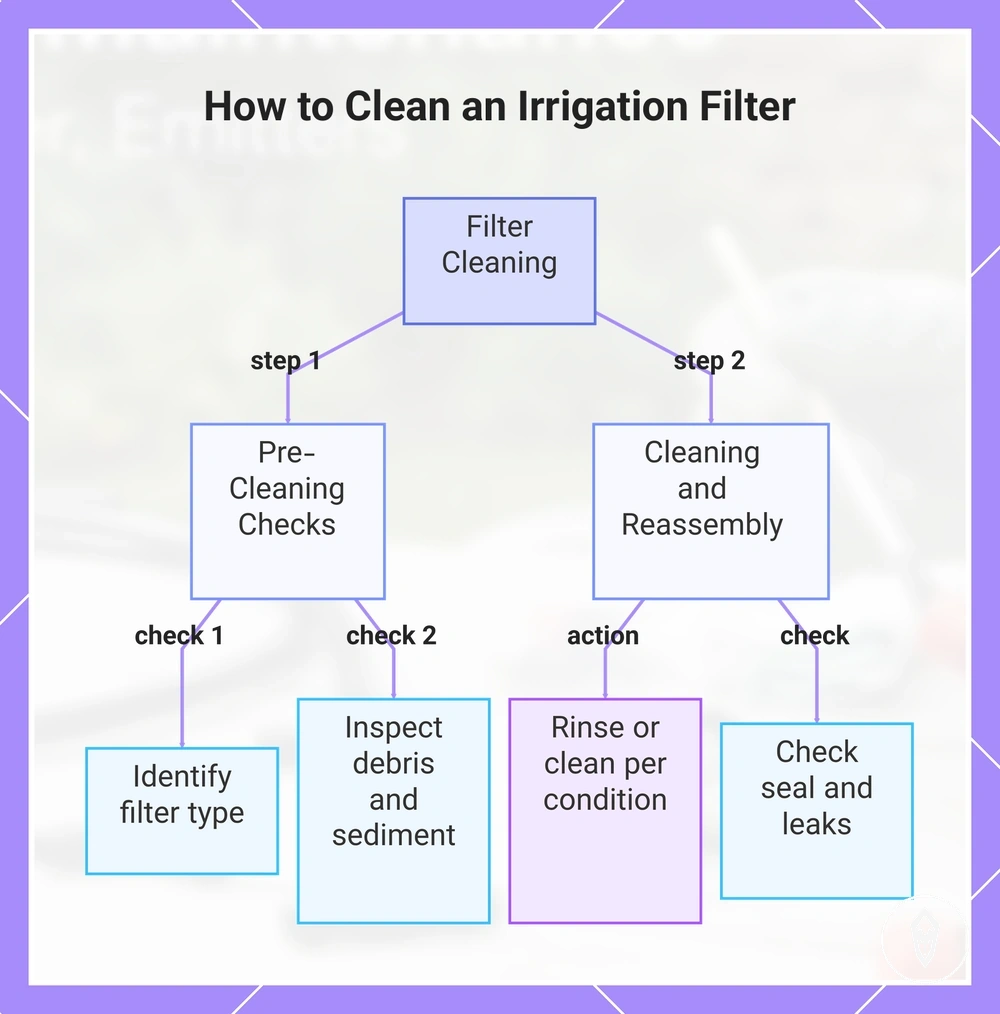
Filter cleaning removes debris and sediment from the filter components that control water movement before restrictions affect emitters. The cleaning method depends on the filter type and condition, including whether the component uses a screen, mesh, or cartridge design.
Filter cleaning removes debris and sediment from the filter components that control water movement before restrictions affect emitters.
Debris load, sediment from the water source, and the level of flow restriction influence whether a filter needs a simple rinse, additional cleaning, or further attention. A blocked filter can reduce flow through the system, so checking the filter condition helps determine the suitable maintenance action before reassembly and leak checks.
- Identify the filter type: Check whether the filter uses a screen, mesh, or cartridge so the cleaning approach matches the component design.
- Inspect debris and sediment: Review the filter insert for debris buildup or sediment load that may contribute to flow restriction.
- Clean according to condition: Rinse or clean the filter component based on its condition and manufacturer instructions rather than applying one method to every filter type.
- Confirm reassembly fit: Reinstall the filter with the correct fit, check the seal condition, and review for signs of leakage before returning the system to operation.
This chart shows the main steps to clean a filter based on its type and condition.
Emitter Cleaning
Emitter cleaning is relevant when a drip emitter has restricted or uneven output caused by conditions such as blockage or mineral residue around the emitter opening. Cleaning focuses on improving delivery consistency by addressing the condition affecting the emitter rather than changing the wider watering setup.
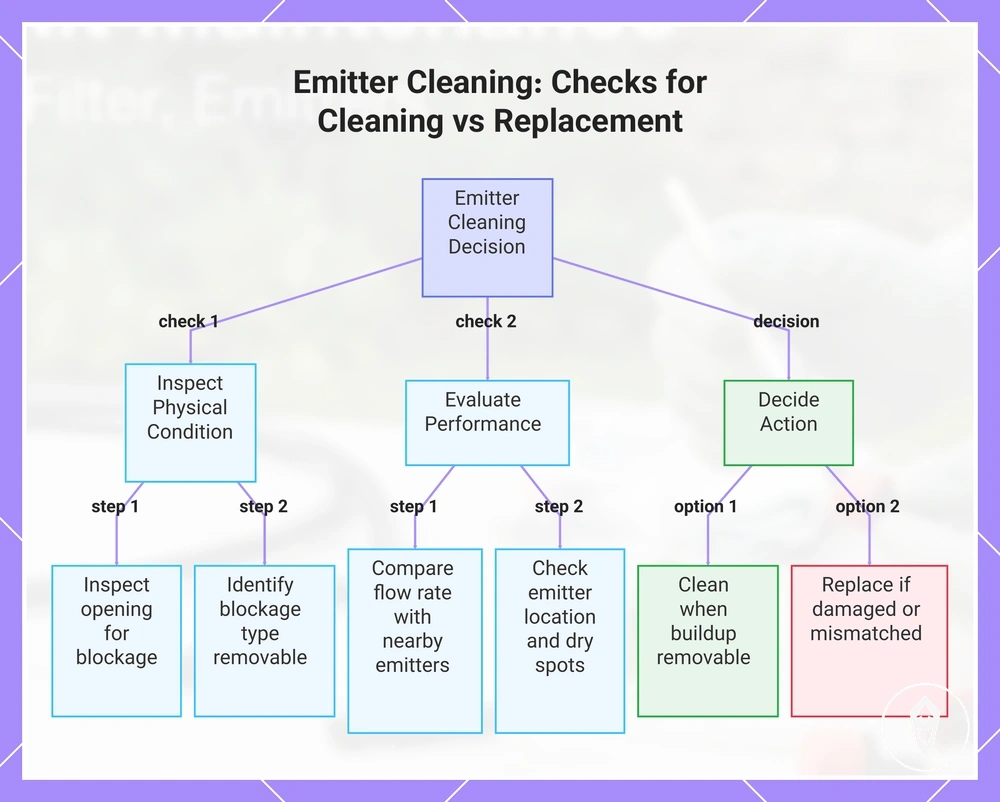
Blockage type and output pattern help determine whether an emitter needs cleaning or replacement.
Blockage type and output pattern help determine whether an emitter needs cleaning or replacement. A clogged emitter with removable buildup may be suitable for cleaning, while a damaged or mismatched emitter may require replacement instead of repeated cleaning. The following checks help identify the suitable action:
- Inspect the emitter opening: Check the emitter opening for blockage, mineral residue, or buildup that may affect drip output and flow rate.
- Review flow rate: Compare the emitter output pattern with nearby emitters to identify reduced flow or uneven drip conditions.
- Check blockage type: Identify whether the blockage is removable buildup or a condition that points to a different maintenance decision.
- Consider plant position: Review the emitter location and nearby dry spots to determine whether the issue relates to emitter placement or output.
- Decide between cleaning and replacement: Clean restricted emitters when the blockage can be removed, but consider replacement when the emitter is damaged or mismatched.
This chart shows the key checks to decide whether to clean or replace a drip emitter based on blockage type and output.
Line Flushing and Flush Valve Checks
Line flushing helps clear sediment and debris from tubing before restrictions affect outlets and water delivery. The process uses the flush valve and tubing end to release buildup while maintaining controlled water flow through the line.
Sediment release can improve flow conditions when buildup collects inside tubing or near flush points.
Sediment release can improve flow conditions when buildup collects inside tubing or near flush points. A reconnection check after flushing helps confirm that fittings, flow paths, and discharge direction are suitable before normal operation resumes. Follow the kit instructions for pressure moderation and flow control during this local maintenance task.
- Prepare the flush point: Check the tubing end, flush valve, or end cap condition before opening the line for flushing.
- Control discharge direction: Position the discharge path so released sediment and water flow leave the system in a controlled direction.
- Open the flush valve: Use the flush valve to allow water flow through the line while maintaining pressure moderation according to the kit instructions.
- Check sediment release: Observe the discharge for released debris or sediment, then close the flush point according to the recommended process.
- Complete reconnection check: Reconnect the tubing end or flush point and review connections before reopening normal water flow.
Tubing, Connector, and Leak Checks
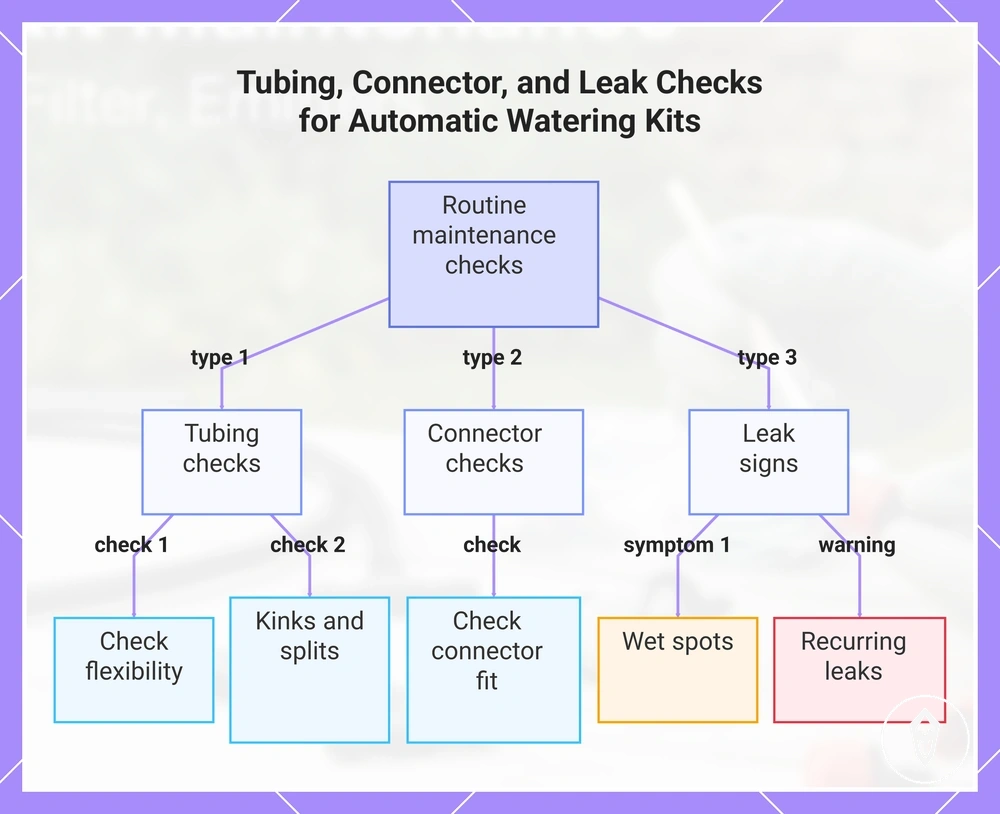
Tubing, connector, and leak checks identify physical condition problems that can affect water delivery through an automatic watering kit. These checks focus on tubing flexibility, connector condition, and visible leak signs such as wet spots or seepage.
These checks focus on tubing flexibility, connector condition, and visible leak signs such as wet spots or seepage.
Kinks, splits, loose fittings, and wet spots provide visible signals that help determine whether a condition needs adjustment, monitoring, or further action. Minor seepage may relate to connector fit or seal condition, while brittle tubing or visible damage may indicate a different maintenance decision.
Connector fit, barb grip, and seal condition provide signs of whether a fitting needs adjustment or monitoring.
Tubing condition includes flexibility, kinks, splits, and UV wear, while connector condition includes barb grip, seal condition, and fitting stability. The tubing and connector checks criteria help identify relevant conditions before moving beyond routine maintenance. Connector fit, barb grip, and seal condition provide signs of whether a fitting needs adjustment or monitoring.
The checklist below summarizes the main conditions to review during routine maintenance.
Recurring leaks or unresolved failures require a different level of assessment beyond basic condition checks. Use troubleshooting watering kit problems when visible checks do not explain continued water delivery issues. The checklist below summarizes the main conditions to review during routine maintenance.
- Tubing flexibility: Check whether the tubing remains flexible or shows brittleness that may increase replacement risk.
- Kinks and splits: Inspect the irrigation line for visible bends, splits, or damage that can affect water movement.
- UV wear: Review exposed tubing areas for signs of material wear that may influence condition decisions.
- Connector fit: Check barb grip, seal condition, and fitting stability for loose connectors or minor seepage.
- Wet spots: Monitor wet areas around connections and tubing as possible leak points affecting water delivery.
This chart outlines the three main categories of physical condition checks—tubing, connector, and leak signs—to inspect during routine maintenance of an automatic watering kit.
Flow, Pressure, and Timer Checks During Maintenance
Flow, pressure, and timer checks during maintenance verify whether an automatic watering kit continues to behave normally after cleaning, seasonal restart, or part replacement. These checks compare current water delivery with the kit’s expected operating pattern rather than changing the original setup process.
Changes in flow, pressure behavior, timer power, or valve opening can affect watering reliability.
Changes in flow, pressure behavior, timer power, or valve opening can affect watering reliability. A timer program issue can alter the watering schedule, while battery or power status changes can affect controller operation. Checking valve opening, emitter output, and flow-control setting helps identify whether the condition needs adjustment or monitoring.
A timer program issue can alter the watering schedule, while battery or power status changes can affect controller operation.
Maintenance checks verify system behavior, while detailed timing changes belong to timing and flow adjustments as a separate usage consideration. After cleaning, seasonal restart, or part replacement, review flow patterns and timer operation before making further changes.
After cleaning, seasonal restart, or part replacement, review flow patterns and timer operation before making further changes.
The table below connects common maintenance observations with the condition to review and the likely area requiring attention. Pressure consistency should be evaluated according to the kit’s intended operating conditions without applying unsupported exact pressure targets or advanced calibration methods.
| Check Area | Condition to Review | Maintenance Indicator |
|---|---|---|
| Timer | Timer program, battery, and power status | Changes in watering schedule or controller operation |
| Valve | Valve opening and flow response | Changes in water movement or delivery pattern |
| Flow | Water delivery and flow-control setting | Reduced flow or inconsistent output pattern |
| Pressure | Pressure consistency during operation | Changes in emitter output or watering reliability |
| Emitter Output | Drip output after maintenance actions | Uneven delivery or restricted watering points |
Boundary: These checks confirm maintenance condition changes; detailed timer setup, timing adjustment, or unresolved system faults require separate evaluation.
When Maintenance Parts Should Be Cleaned, Repaired, or Replaced
Maintenance parts should be cleaned, repaired, replaced, or monitored based on their condition rather than product availability or a fixed replacement interval. The decision depends on whether the part shows a cleanable blockage, an adjustable issue, visible damage, or a condition that requires observation.
Cleanable blockage, repairable looseness, and replacement-level damage require different actions.
Cleanable blockage, repairable looseness, and replacement-level damage require different actions. A filter with removable debris may be cleaned, while emitter blockage, loose connectors, or damaged tubing may require a different maintenance decision. Restricted flow and worn components should be reviewed according to their condition before choosing the next action.
The decision table below maps common maintenance part conditions to clean, repair, replace, or monitor outcomes.
The decision table below maps common maintenance part conditions to clean, repair, replace, or monitor outcomes. It connects filter condition, emitter blockage, tubing damage, connector looseness, valve wear, and tool needs with the relevant maintenance action.
| Maintenance Part | Condition | Action | Outcome |
|---|---|---|---|
| Filter | Filter condition shows removable debris or blockage | Clean | Clear buildup when the part remains suitable for use |
| Emitter | Emitter blockage or mineral buildup affects output | Clean or replace | Use cleaning for removable restrictions and replacement for unsuitable conditions |
| Tubing | Tubing damage such as splits or worn sections | Repair or replace | Address damaged areas that affect water delivery |
| Connector | Connector looseness, seal issue, or reduced barb grip | Repair or monitor | Review fitting condition and adjust when the connection remains usable |
| Valve | Valve wear or restricted flow condition | Monitor or replace | Assess valve condition when flow control is affected |
| Maintenance Tool | A tool is needed for a specific maintenance task | Use when appropriate | Select tools based on the part condition and maintenance requirement |
Manufacturer limits should guide cleaning, repair, and replacement decisions when part materials or operating conditions are unclear. Avoid repeatedly cleaning worn parts as if they only contain removable buildup, because visible damage may require replacement or further assessment.
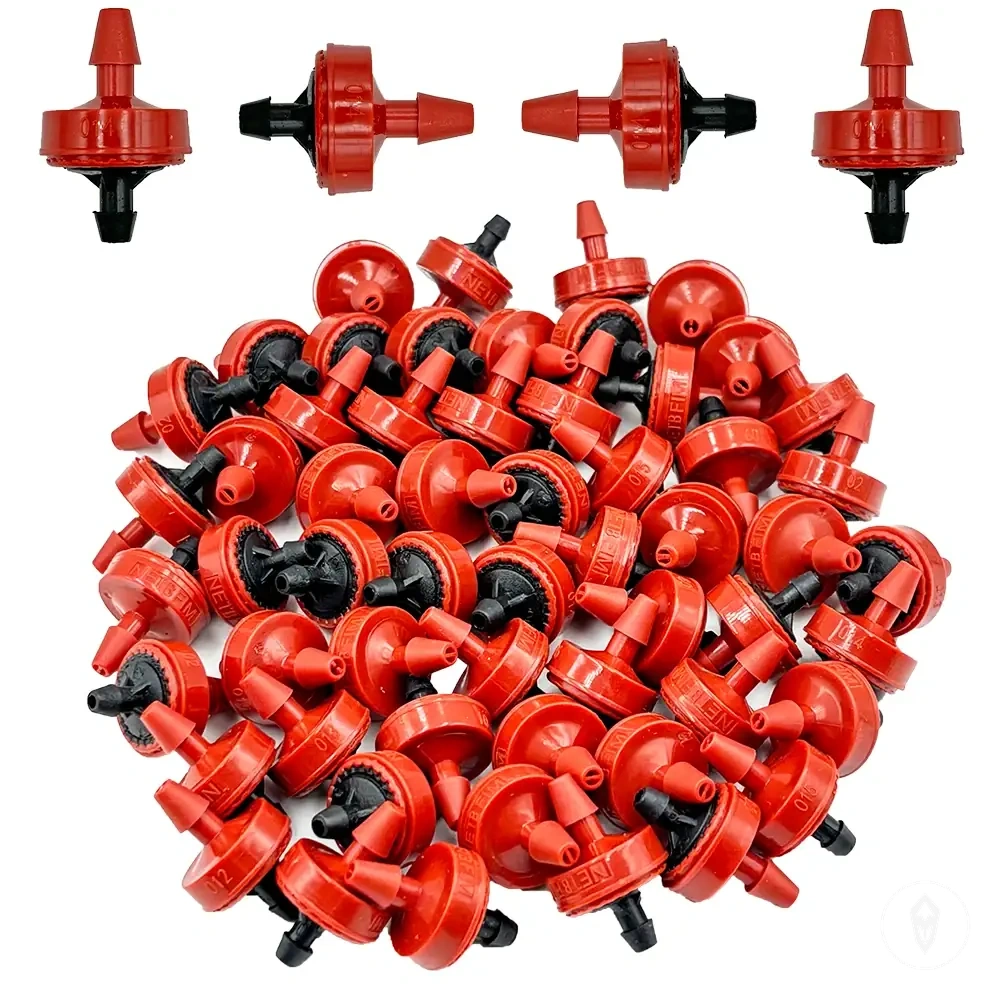
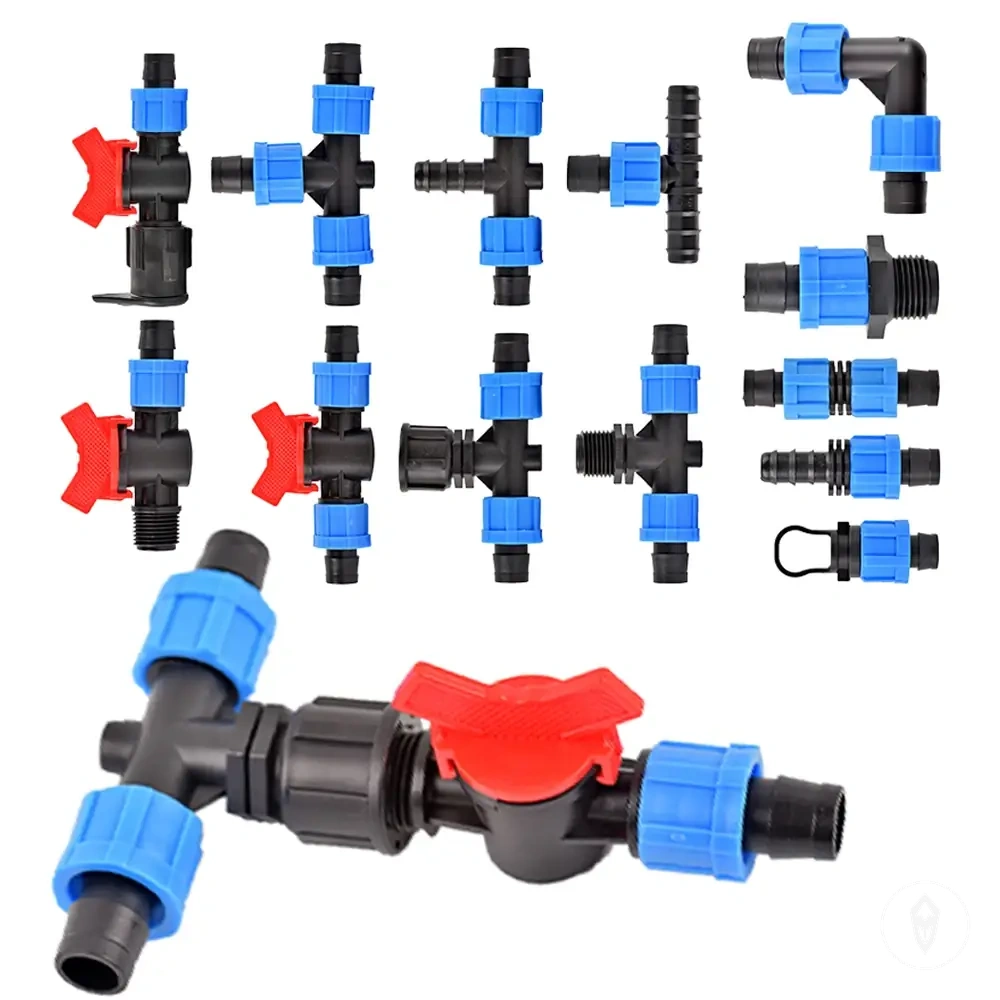
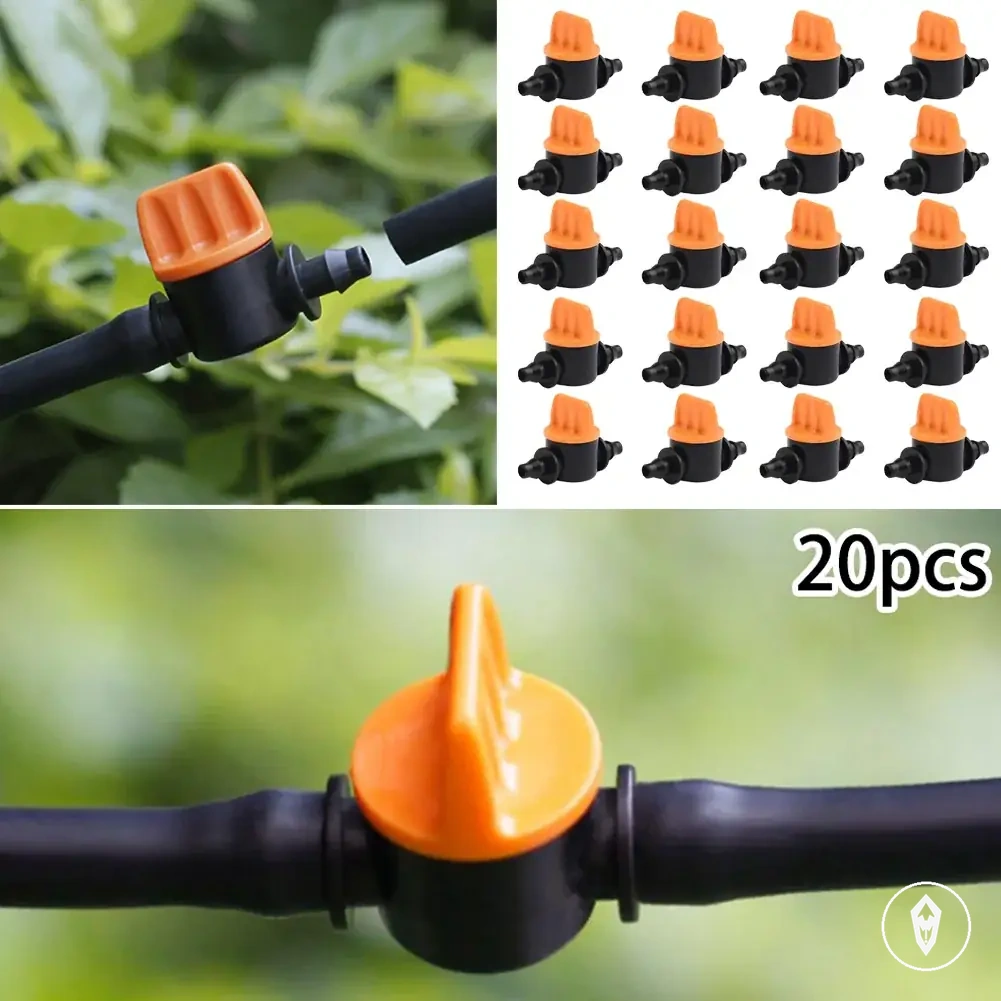
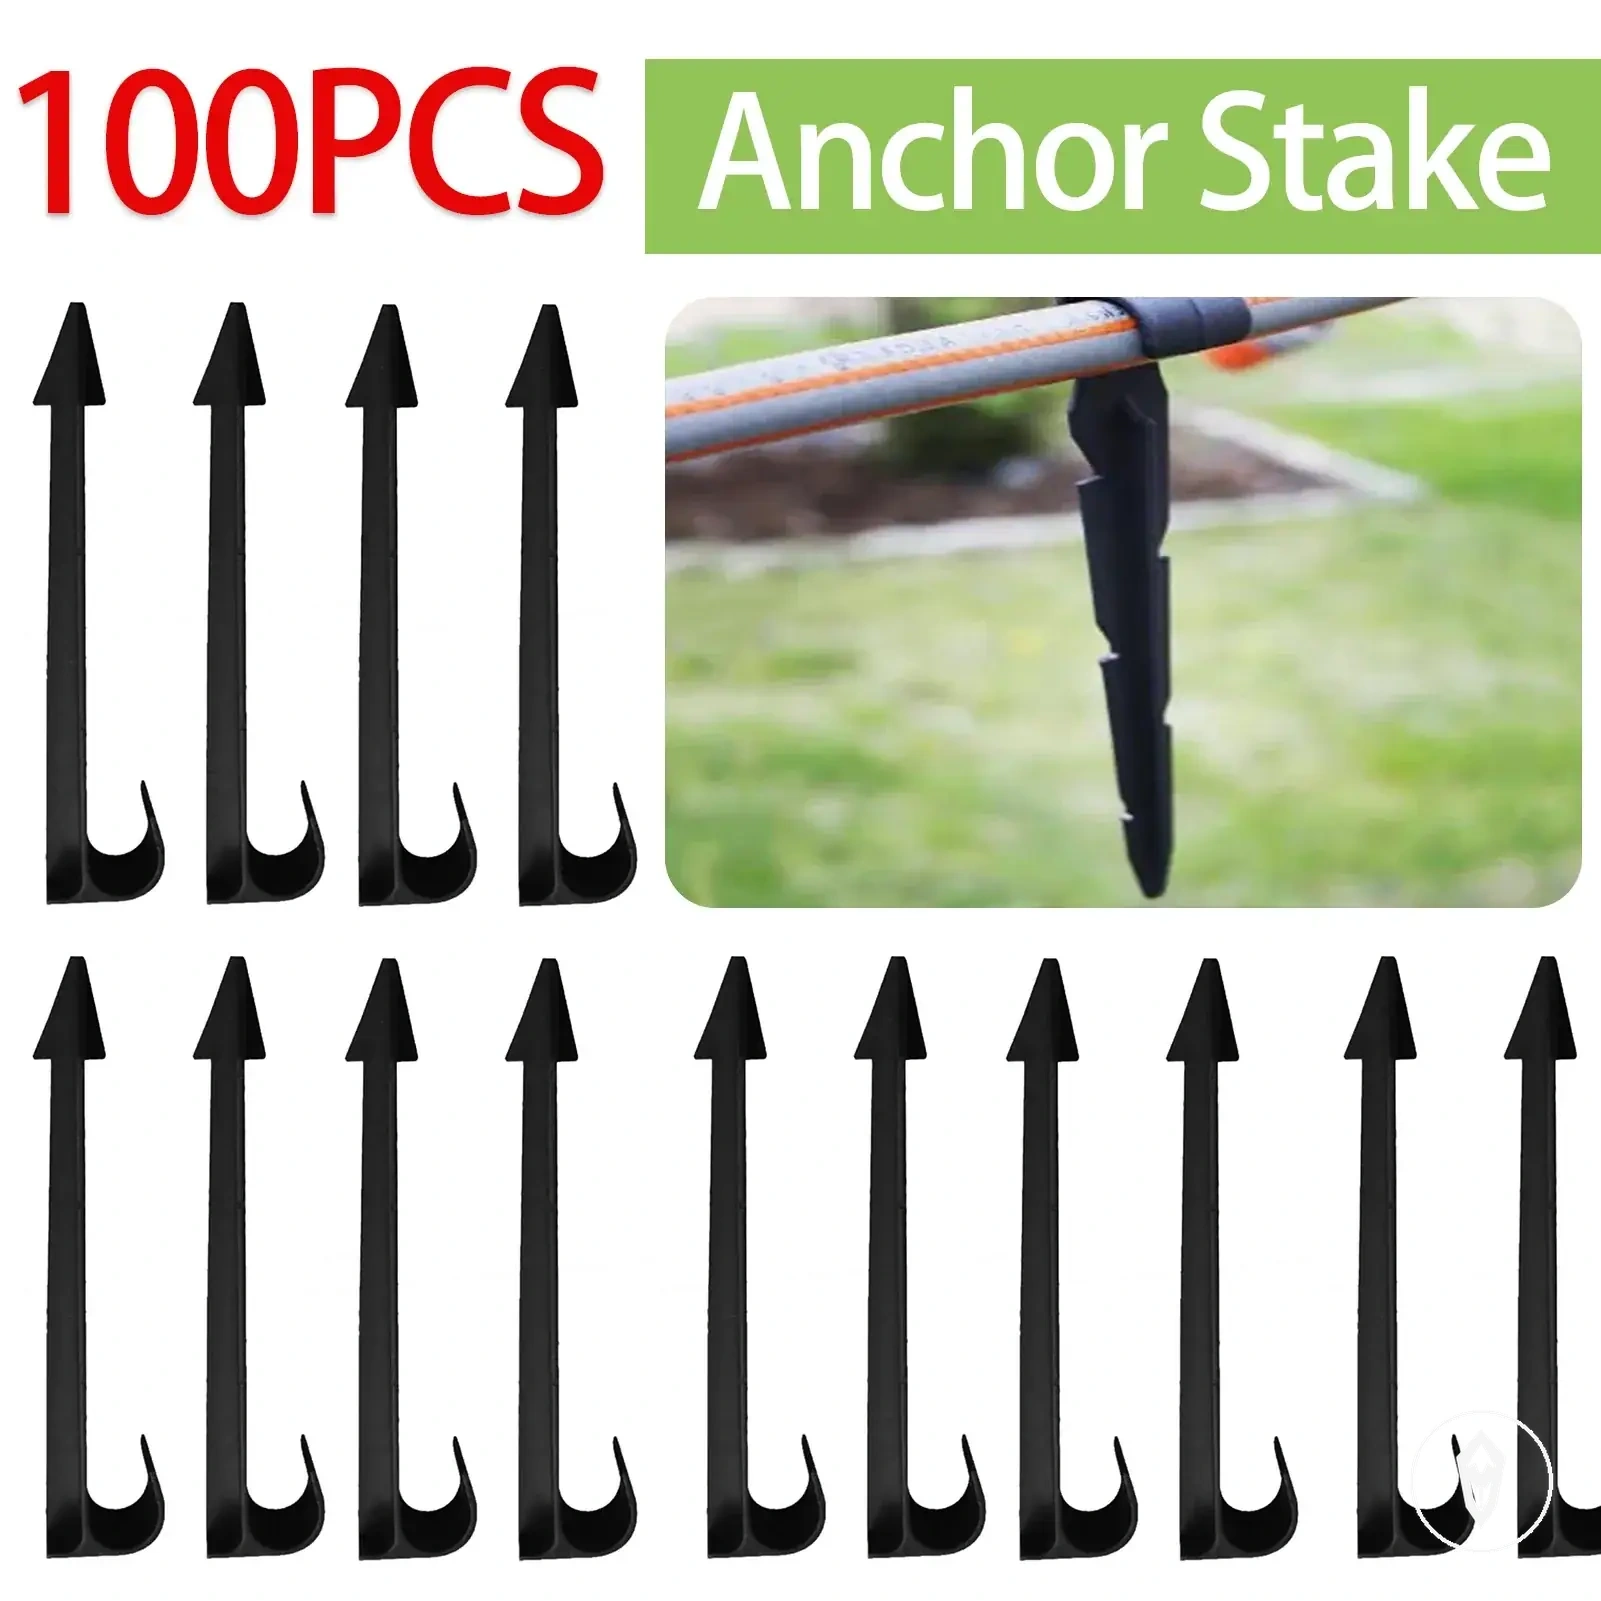
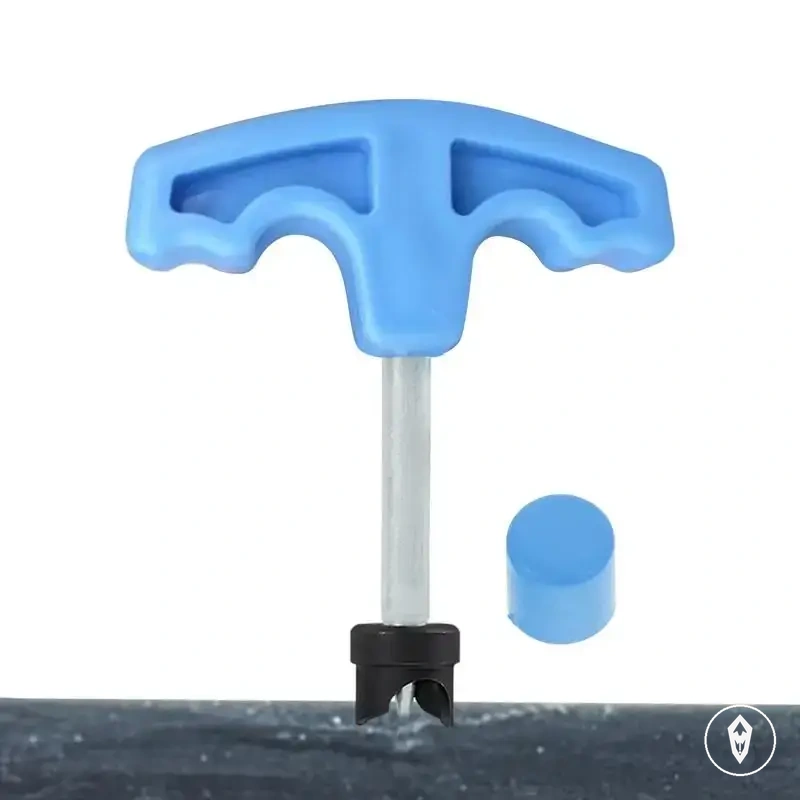
The products below are useful examples for comparing available options.
The products below are useful examples for comparing available options. Before buying, check that the compatibility criteria, key features, and product details match your needs.
Automatic Watering Kit Maintenance Checklist
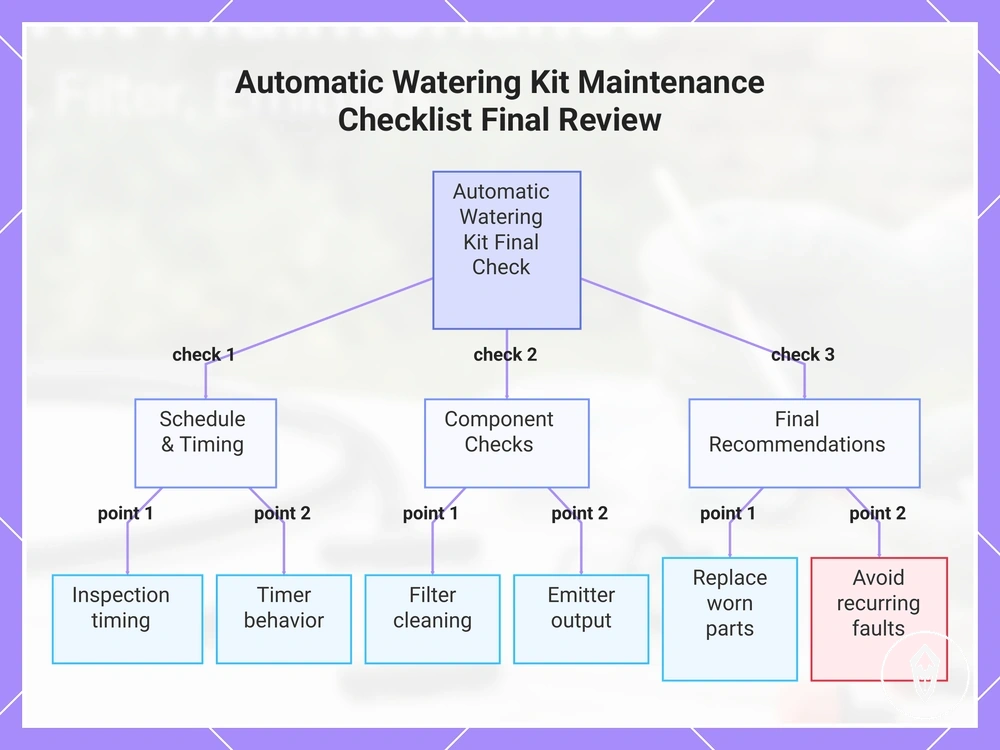
The maintenance checklist is a final verification pass that organizes already completed checks into a practical review before continued use. It confirms that key maintenance areas have been reviewed without repeating the detailed cleaning, inspection, or adjustment steps for each component.
The maintenance checklist is a final verification pass that organizes already completed checks into a practical review before continued use.
This maintenance checklist brings together inspection timing, filter cleaning, emitter output, line flushing, tubing condition, connector condition, timer behavior, leak review, and replacement cues as a final condition review.
- Inspection timing: Confirm that routine checks match the current use period, including active watering, seasonal checks, restart, or storage preparation.
- Filter cleaning: Review filter condition and confirm that debris or flow restrictions have been addressed when cleaning is appropriate.
- Emitter output: Check emitter output for uneven drip patterns, blockage signs, or changes after maintenance actions.
- Line flushing: Confirm that line flushing and flush points have been reviewed when sediment or restricted flow conditions require attention.
- Tubing condition: Inspect tubing condition for kinks, splits, brittleness, or visible changes that affect water delivery.
- Connector condition: Review connector fit, seal condition, and visible seepage around fittings.
- Timer behavior: Check timer behavior, watering schedule operation, and power status during the final verification pass.
- Leak review: Check wet spots or leak signs that may indicate a condition requiring adjustment, monitoring, or further assessment.
- Replacement cues: Identify worn parts or damaged components that may require replacement instead of repeated cleaning or adjustment.
Follow manufacturer instructions when completing the maintenance checklist and avoid treating recurring faults as routine maintenance conditions. Repeated cleaning may not address worn parts, damaged components, or issues that require a different assessment.
Before buying, check that the compatibility criteria, key features, and product details match your needs.
The products below are useful examples for comparing available options. Before buying, check that the compatibility criteria, key features, and product details match your needs.
This chart shows the key checks in the final maintenance verification pass for an automatic watering kit, including timing, component condition, and final recommendations.